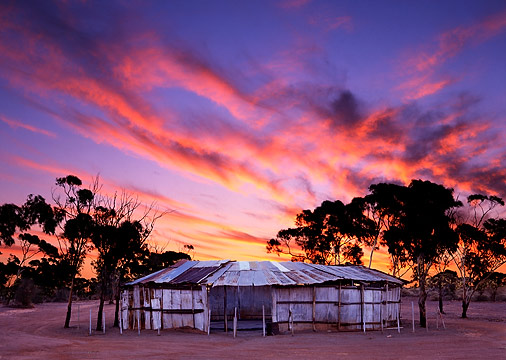
This photograph was made without filtration, yet exposure is good for both ground and sky. How can such a picture, with an eleven stop subject brightness range, be made without an ND filter? Blended Exposure!
Here's how to do it:
Make two images, one with the correct exposure for the sky and one with correct exposure for the ground. Scan the images and adjust levels/curves so that each look "correct".

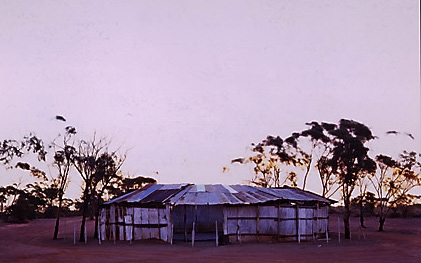
Copy the image with the dark foreground onto the correct foreground and align perfectly by setting the opacity to around 30% and nudging to suit.
Using the dark layer, go to Layers/add layer mask and set it to reveal all. Then using the paint brush tool, with the colour set to black, paint out the area where detail needs to be seen.
Further level adjustment on one or the other layer can be done to make a more natural appearance.
Then flatten the image, sharpen as usual, and you're nearly done.
Final tonal adjustments should be made to suit your tastes.
A word on ethics here: whenever I do this sort of "digital trickery", I make every endeavour to let people know that the image is not from one sheet of film. Although this is what the scene looked like, film has limitations that our eyes aren't subject to. This method lets me capture scenes otherwise outside the film's limitations.
At the time of writing this (May 2003), this is the only image on my site which has elements added or removed from the scene on a sheet of film. All other images were captured on film and are essentialy as the camera saw them.
For further reading on this technique, go to http://www.luminous-landscape.com/tutorials/blended_exposures.shtml , where Michael Reichmann details how he does it. It's the site that taught it to me.